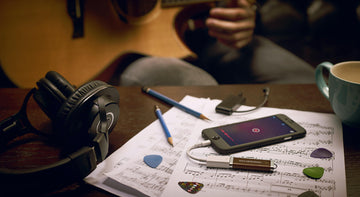
Some of you might have heard of remote learning but aren’t so sure how to do it. For ISOLO users, it’s easy if you connect it to the AR1. Here’s a step by step guide on how to get it set up.
First things first : Hooking it all up
1. It’s simple. Just turn on your ISOLO receiver and pair the mic as usual, connect the AR1 to the output end, and that’s it!
2. You can also play your backing track through a 1/8” (3.5mm) cable.


3. If you need a dynamic mic input, you can connect it to the right side of the isolo receiver, and adjust the amount of gain with the line/mic knob.
4. Once you’re done, plug in your headphones for monitoring. Please remember that the headphone volume is NOT related to the recording volume.
5. For the strongest signal strength without clipping adjust the master volume to keep the signal strength between 2 to 3 green lights on your AR1.


Step 2: Connect to your laptop or iPad
1. We suggest to use a laptop or iPad, and not a smartphone, because are limitations on the audio settings of smartphone video call apps. Remember to use the included cable for higher quality signal.


2. After connecting to your device, find the AR1 in your audio settings (both input and output). Make sure to set it as your primary audio source before moving to the next part.

Step 3: Setup the Video Call App
There are various choices for remote learning, and we cannot cover all of them, so we will just take a look at Zoom and Google meet.


◎Setup in Zoom
First of all, you have to either start or join a meeting, and set up your audio source accordingly.
Select AR1 recorder as your mic input and speaker output. At this moment, you should listen through your headphones and not loudspeakers. Your student will hear your instrument through ISOLO wireless mic. If you want to add backing track or vocal mic, you can find how to connect them in the previous section.

◎Setup in Google meet
We suggest to start google meet in Chrome browser to avoid some audio problems.
Go to the setting at the lower right corner.
In your audio settings, select AR1 Recorder as your mic input. For the speaker output, please select system default (remember to set your system to AR1 at first). Once the setting is complete, you are good to go.

Some handy tips
◎Zoom: High-Fidelity Music Mode
Zoom just rolled out High-Fidelity Music Mode, designed to provide professional-grade audio and optimize all kinds of sound and music use cases happening in your Zoom Meetings. High-Fidelity Music Mode delivers professional audio from a single Zoom client, streaming to one or more listeners, for performing arts and music teachers, songwriters, and anyone else looking for rich, professional-grade sound over Zoom. Using this new functionality is as easy as adjusting a couple of preferences in your Zoom settings. A wired network connection is recommended.

◎Google meet: Multiple cameras
You might need to change among different cameras to provide a better view. When you feel that your camera is not enough, you can log in the meeting with another device to provide different angles (Be sure to mute it avoid interference).
Thank you for watching, and I hope that your class goes smoothly. If you have any questions leave a comment or contact us.


